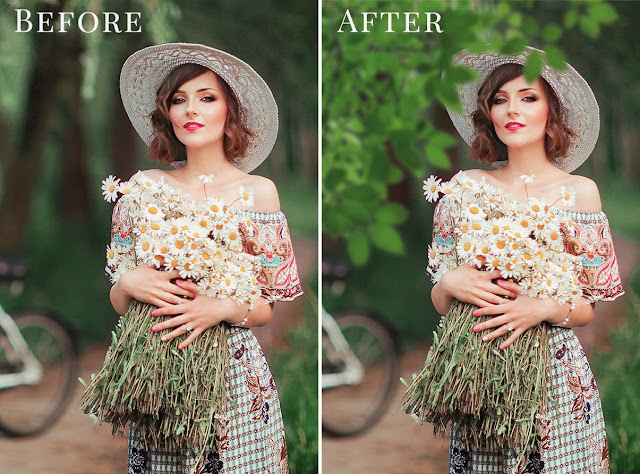
In this collection, you can see 40 Sparklers Alphabet Photoshop Overlay and various shapes with brilliant effects, which are placed on the site in JPG format for download. Photo Overlays – great for create you photo more interesting and beautiful. These sparkler overlays are a game-changer. As a wedding photographer I’ve had some rough times trying to get perfect sparkler designs during weddings with limited time and little control over lighting at the location.

CM Sparklers Alphabet Photoshop Overlay 40 image clip art of alphabet letters and various shapes with brilliant effects | 101 MB | JPG format

You will need basic knowledge of Adobe Photoshop and know how to work with the layers.
Each is in separate layer – VERY EASY TO USE.

DESCRIPTION:
40 file
in jpg format
( 300dpi)
Password is: dgpik.com
Click on The Button Below to Download

How to use Overlay in Photoshop
Overlay is a blending mode in Photoshop that adds contrast and color saturation to the underlying layers. Here are the steps to use Overlay in Photoshop:
- Open Photoshop and open the image you want to work on.
- Create a new layer by clicking on the “New Layer” button at the bottom of the Layers panel.
- Fill the new layer with a solid color by choosing a color from the color picker and then using the “Paint Bucket” tool to fill the layer.
- Change the blending mode of the new layer to “Overlay” from the drop-down menu in the Layers panel.
- Adjust the opacity of the new layer to achieve the desired effect. You can do this by using the opacity slider in the Layers panel or by typing a value directly into the opacity field.
- You can also adjust the hue, saturation, and brightness of the overlay layer by using the “Hue/Saturation” adjustment layer or the “Brightness/Contrast” adjustment layer.
Note: You can apply the Overlay blending mode to any layer, not just solid color layers. You can experiment with different layers and see how the Overlay blending mode affects them.


