
Colour Winter Photo Frames Free Download Set of different frames with snow and snowflakes great for Christmas pictures.20 different white color Snowflake Photo Overlays. Easy to use. The layers in the PNG format with transparent background. Can be used with any software that work with PNG format, Adobe Photoshop, Photoshop Elements, Paint Shop Pro, etc.You Can Also Download 17 Photo Frames Psd Mockups Bundle
Include:
15 digital paper JPG 12”x12” (3600×3600 px) , 300 DPI
86 frames PNG format with transparent background
26 white color frames — 5184 x 3456 px
30 gold color frames — 5184 x 3456 px
12 mix color (white+gold) frames — 5184 x 3456 px
18 round frames – 5000 x 5000 px
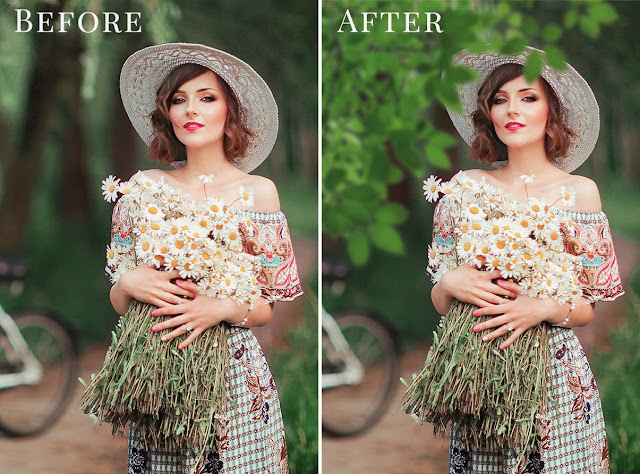
See what you will be able to do
Below you can find Preset Power Examples from each Package.
Download the File Easily From the Download Link Given Below
Password is: dgpik.com


How to Use Photo Overlays in Photoshop
Using photo overlays in Photoshop can add creative elements and visual effects to your images. Here’s a step-by-step guide on how to use photo overlays in Photoshop:
- Prepare Your Workspace:
- Open Photoshop and create a new document or open the image you want to edit.
- Make sure you have the overlay image file(s) ready. These can be PNG or JPEG files with a transparent background.
- Open the Overlay Image:
- Go to “File” and select “Open” to open the overlay image file in Photoshop.
- If the overlay image has a white or solid-colored background, you need to remove it. Use the appropriate tools such as the Magic Wand Tool or the Background Eraser Tool to delete the unwanted background, leaving only the desired overlay elements.
- Copy the Overlay Image:
- Select the entire overlay image by pressing “Ctrl+A” (Windows) or “Command+A” (Mac) or use the selection tools to select the desired area.
- Copy the selection by pressing “Ctrl+C” (Windows) or “Command+C” (Mac).
- Paste the Overlay Image onto Your Main Image:
- Switch to your main image or the document where you want to apply the overlay.
- Paste the overlay image by pressing “Ctrl+V” (Windows) or “Command+V” (Mac). This will create a new layer containing the overlay.
- Adjust the Overlay:
- With the overlay layer selected, you can resize, reposition, or rotate the overlay to fit your image. Use the Free Transform tool by pressing “Ctrl+T” (Windows) or “Command+T” (Mac) and drag the corners or edges to make the adjustments.
- You can also adjust the opacity of the overlay layer to make it more transparent, blending it better with the underlying image. Use the Opacity slider in the Layers panel to control the transparency.
- Blend and Fine-Tune:
- Experiment with blending modes and layer styles to achieve the desired effect. You can find blending modes in the drop-down menu at the top of the Layers panel. Try different options like Multiply, Screen, Overlay, or Soft Light to see which one works best for your overlay.
- If necessary, apply additional adjustments like color correction or filters to the overlay layer to match the overall look of your image.
- Refine the Mask (Optional):
- If you want to refine the overlay effect further, you can add a layer mask to the overlay layer. This allows you to selectively hide or reveal parts of the overlay.
- Click on the Layer Mask icon at the bottom of the Layers panel to add a mask to the overlay layer. Use the Brush Tool with a soft-edged brush and paint with black to hide parts of the overlay or white to reveal them.
- Finalize and Save:
- Once you’re satisfied with the overlay effect, you can flatten the layers if desired. Right-click on any layer and select “Flatten Image” from the context menu.
- Save your edited image by going to “File” and selecting “Save” or “Save As” to choose a different file name or format.
Remember to experiment and play around with different overlays, blending modes, and adjustments to achieve the desired effect. Photoshop offers a wide range of possibilities for creative editing, so feel free to explore and unleash your creativity.