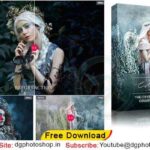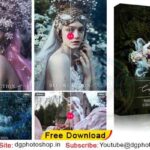

Watercolor Rectangles Photo Masks Free Download are a popular tool used in graphic design and digital scrapbooking. These masks allow you to apply a watercolor effect to your photos or other graphics by overlaying a colorful rectangle on top. They add a creative and artistic touch to any design project. If you want you can also Download. Masks

PACKAGE DETAILS:
- 20 different rectangle shapes photomasks
- with watercolor effect
- PNG files with transparent background
- perfect for prints, cards, invitations, Instagram posts, wall art, etc.
- designs are 6000 x 6000px
- 300 dpi – high resolution, great for prints
- super easy to use
VERY EASY TO USE:
- open photomask in Photoshop
- place your photo over the photomask
- in the layers panel, select layer with your photo, right-click with the mouse on it, and select “Create Clipping Mask”
- your photo has a rectangle shape with a watercolor effect now
- set the size and position of your photo properly
- you can add any background color, texture, rotate the shape with your photo, etc.

Download the File Easily From the Download Link Given Below
Password is : dgpik.com

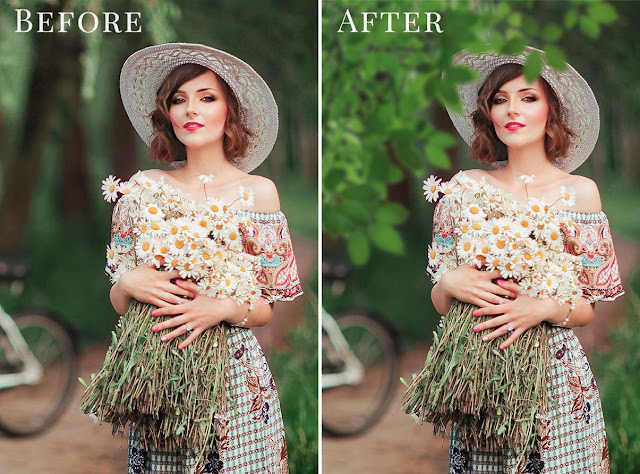
How to Use Photo Masks
Photo masks are a powerful tool for manipulating images and creating unique effects. Here are the steps to using photo masks in popular image editing software such as Adobe Photoshop or GIMP:
- Open your image editing software and open the image you want to apply the photo mask to.
- Create a new layer above the image layer by clicking on the “New Layer” button.
- Choose a photo mask that you want to apply to your image. You can either download a pre-made mask or create your own by drawing shapes and designs on a separate layer.
- Copy and paste the photo mask onto the new layer you just created.
- Position and resize the photo mask as needed so that it covers the area of the image you want to apply the effect to.
- Make sure the photo mask layer is selected and click on the “Add Layer Mask” button. This will create a layer mask based on the photo mask you just applied.
- Use the brush tool to erase any parts of the layer mask that you don’t want to apply the effect to.
- Adjust the opacity of the layer mask to your liking.
- Save your edited image.
With these steps, you can apply photo masks to your images and create unique and creative effects.