
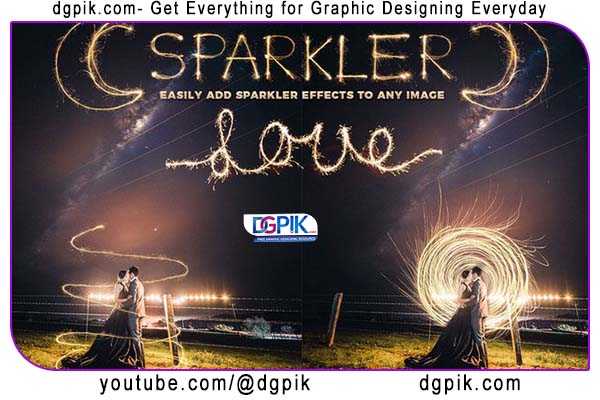
Light Painting Sparkler Overlays Free Download Add a little SPARKLE to your photos with awesome LIGHT PAINTING sparkler Overlays! Included are everything from individual sparklers, hearts, words and graphics – as well as a complete uppercase AND lowercase sparkler alphabet and set of numbers! Spell out anything you’d like as easily as dragging and dropping them onto your image, and changing the layer blend mode to lighten or screen – or use the Sparkler Applicator Photoshop Action that is included to apply any overlay in one easy click! All files are huge and 300dpi – suitable for application on even the largest of professional digital photographs.You Can Also Download Matches, Lighters And Sparklers Sound Effect Collection
Download the File Easily From the Download Link Given Below
Password is: dgpik.com
DOWNLOAD NOWLight Painting Sparkler OverlaysHow to use Overlays
Using overlays typically refers to placing one image or graphic on top of another to create a combined visual composition. Overlays are commonly used in various creative projects, such as graphic design, photo editing, and video editing, to add effects, textures, or additional elements to an existing image or video. Here’s a general guide on how to use overlays:
- Select Your Software: You’ll need software that supports image or video editing. Popular options include Adobe Photoshop, Adobe Premiere Pro, Adobe After Effects, GIMP (free alternative to Photoshop), or any other image and video editing software of your choice.
- Prepare Your Base Image/Video:
- If you’re working with an image, open it in your chosen editing software.
- If you’re working with a video, import the video clip into your video editing software’s timeline.
- Import or Create the Overlay:
- You can either create your overlay from scratch in the same software or use pre-made overlays available online. These overlays can include textures, shapes, icons, text, or any other graphic element you want to add to your base image or video.
- Position the Overlay:
- Drag and drop the overlay onto your base image/video.
- Use the software’s tools (such as the move or transform tool) to position and resize the overlay as needed.
- Ensure the overlay is on a separate layer or track from the base image/video so that you can manipulate it independently.
- Adjust Blend Mode (Optional):
- Depending on your software, you may have blend modes or blending options available for layers or tracks. Experiment with these to achieve the desired effect. Common blend modes include “Multiply” for darkening, “Screen” for lightening, and “Overlay” for a mix of both.
- Adjust Opacity (Optional):
- You can often control the transparency of the overlay by adjusting its opacity or transparency settings. This can help make the overlay more subtle if needed.
- Apply Masks or Filters (Optional):
- Depending on your project’s requirements, you can apply masks, filters, or other effects to the overlay or the base image/video to further customize the look.
- Finalize and Save/Export:
- Once you’re satisfied with the composition, save your edited image or export your edited video. Be sure to choose the appropriate file format and settings for your intended use (e.g., JPEG, PNG, MP4, etc.).
- Review and Make Adjustments:
- Before finalizing your project, review the composition and make any necessary adjustments until you achieve the desired result.
- Save Your Work:
- Save your project file in case you need to make further changes later.
The specific steps and features available may vary depending on the software you’re using, so it’s essential to refer to the documentation or tutorials for your specific software for more detailed instructions on working with overlays.